
spring(六):annotation
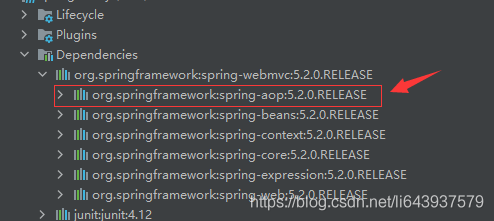
在Spring4之后,要使用注解开发,必须要保证aop的包已经导入
使用注解需要导入约束,配置注解的支持
1 |
|
常用注解
用于装配bean
- @Component ,放在类上,相当于在xml中用bean配置,说明这个类被Spring管理了
- 我们在web开发中,会按照MVC三层架构分层,不同层的不同类的组件注解不同,但都是@Conponent的衍生注解
- @Repository,dao层类的组件注解
- @Controller,Controller层的组件注解
- @Service,Service层的组件注解
用于属性注入
@Value: 卸载属性或者set方法上 @Value(“hanser”)也就是属性注入,可以给简单类型的属性注入值,
用于自动装配
- @Autowired和@Qualifier(value = “xxx”)
- @Nullable 字段标记了了这个注解,说明这个字段可以为null;
- @Resource:自动装配通过名字,类型。
作用域
@Scope(“prototype”),在类的上方加上作用域,括号内是要设定的作用域
- singleton单例模式 — 全局有且仅有一个实例
- prototype原型模式 — 每次获取Bean的时候会有一个新的实例
- request — request表示该针对每一次HTTP请求都会产生一个新的bean,同时该bean仅在当前HTTP request内有效
- session — session作用域表示该针对每一次HTTP请求都会产生一个新的bean,同时该bean仅在当前HTTP session内有效
- globalsession — global session作用域类似于标准的HTTP Session作用域,不过它仅仅在基于portlet的web应用中才有意义
小结
xml与注解:
- xml更加万能,适用于任何场合!维护简单方便
- 注解不是自己类使用不了,维护相对复杂!
xml与注解最佳实践:
- xml用来管理bean;
- 注解只负责完成属性的注入;
- 我们在使用的过程中,只需要注意一个问题:要让注解生效,就需要开启注解的支持
本博客所有文章除特别声明外,均采用 CC BY-NC-SA 4.0 许可协议。转载请注明来自 Hakurei Reimu!